
How to Fix a Water-Damaged Phone: A Comprehensive Guide
Snippet: Water damage can be devastating to your phone, but with the right steps, you can often save it. From turning off your phone immediately to using desiccants like silica gel, our comprehensive guide covers everything you need to know to fix a water-damaged phone. Learn what not to do, effective drying methods, and when to seek professional help to ensure your device has the best chance of recovery.
Step 0: Be Proactive and Protect Your Phone
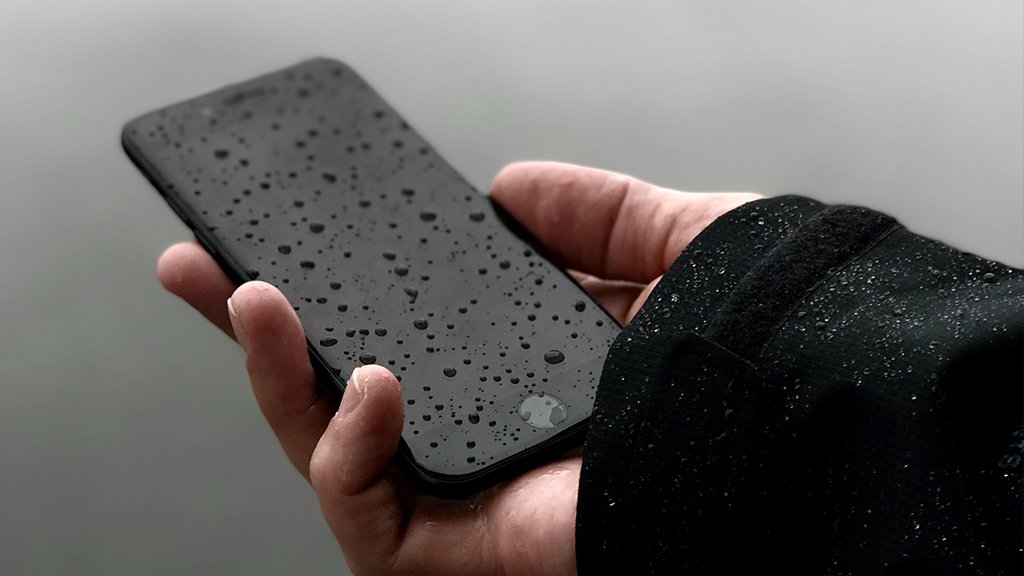
Use Waterproof Cases and Pouches
Investing in a good waterproof case or pouch can protect your phone from accidental water exposure. These accessories are designed to keep your phone dry even if it gets submerged.
Avoid Using Your Phone Near Water Sources
Be mindful of your phone repair Oxnard usage near pools, beaches, and other water sources. Accidents happen, and it’s best to minimize the risk by keeping your phone away from potential hazards.
Backup Your Data Regularly
Regularly backing up your data ensures that even if your phone suffers irreversible damage, you won’t lose important information. Use cloud services or external drives for backups.
Step 1: Turn Off Your Phone ASAP!
Immediate Steps to Take
As soon as your computer repair Oxnard gets wet, turn it off immediately. This step is crucial to prevent electrical short circuits that can cause further damage to the internal components.
Step 1.5: What Not to Do After Dropping Your Phone in Water
Avoid Pressing Any Buttons
Pressing buttons can push water further into the phone, increasing the risk of damage.
Don’t Shake or Blow Into the Phone
Shaking or blowing into the phone can spread water to other parts, exacerbating the problem.
Avoid Using a Hairdryer or Microwave
The heat from a hairdryer or microwave can damage the phone’s internal components. Instead, opt for safer drying methods.
Step 2: Disassemble the Water-Damaged Phone
Remove the SIM Card, SD Card, and Battery
If your phone model allows, carefully remove the SIM card, SD card, and battery. This helps prevent further damage and makes the drying process more effective.
Disassembling Different Phone Models
Refer to your phone’s manual or trusted online resources for detailed instructions on disassembling your specific model, such as iPhone or Samsung Galaxy.
Step 3: Dry the Exterior of the Phone
Use a Soft Cloth or Paper Towel
Gently dab the exterior of the phone with a soft cloth or paper towel to remove excess water. Be gentle to avoid pushing water into the phone.
Step 4: Time to Dry Out the Water-Damaged Phone
Use of Silica Gel Packs or Uncooked Rice
Place your phone in a container filled with silica gel packs or uncooked rice. These materials help absorb moisture from the phone.
Placing the Phone in a Dry, Warm Place
Leave the phone in a dry, warm place for at least 24-48 hours to ensure all moisture is absorbed.
Step 5: Safe Methods to Remove Moisture
Vacuum Cleaner Method
Using a vacuum cleaner can help suck out moisture. Ensure you use it on a low setting and keep it a safe distance from the phone.
Use of Desiccants
Desiccants like silica gel are more effective than rice in absorbing moisture. Consider using them if available.
Professional Drying Services
If you’re unsure about drying your phone at home, consider professional drying services. They have specialized equipment to safely dry out your phone.
Step 6: Reassemble and Test Your Phone
Carefully Reassemble the Phone
Once you’re confident the phone is dry, carefully reassemble it. Ensure all components are properly in place.
Steps to Safely Turn on the Phone
Press the power button to turn on the phone. If it doesn’t turn on, try charging it. If there’s no response, seek professional help.
What to Do If the Phone Doesn’t Turn On
If your phone shows no signs of life, it might require professional repair services. Avoid further attempts to turn it on to prevent more damage.
Common Myths About Fixing Water-Damaged Phones
Myth: Rice is the Best Solution
While rice can absorb moisture, it’s not the most effective method. Silica gel packs work better.
Myth: Using a Hairdryer Works
The heat from a hairdryer can damage your phone’s internal components. Stick to safer drying methods.
Myth: Shaking the Phone Helps
Shaking the phone can spread water to other parts. It’s better to keep the phone still and let desiccants do the work.
When to Seek Professional Help
Signs Your Phone Needs Professional Repair
If your phone doesn’t turn on, displays unusual behavior, or has visible damage, seek professional repair services immediately.
Importance of Timely Repairs
Timely repairs can prevent further damage and increase the chances of restoring your phone to its original condition.
Conclusion
Dealing with a water-damaged phone can be stressful, but following these steps can help you save your device. Be proactive in protecting your phone, and remember that professional help is always an option if needed.